A MIDI interface for the ARP Omni and Omni-2 Synthesizers
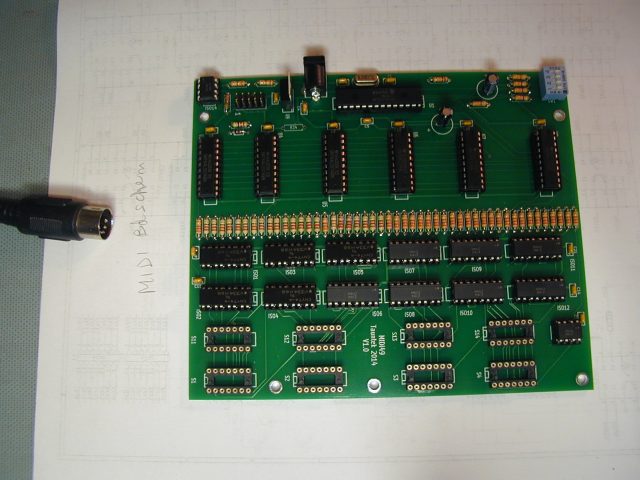
A friend asked me to design a MIDI interface for his ARP Omni-2 synthesizer. Luckily the keyboard circuit is the same between the Omni and the Omni-2, so the same interface can be used with either. I took my lead from a one-off OMNI MIDI interface that someone on the web had made using opto-isolators, but made a few changes. The low keys of the keyboard are sensed with a different circuit from the upper ones, due to their dual-purpose. For these I needed to use opto-isolators with low "on" voltage drop. (Not Darlington types) As a result, these must be driven harder and draw more current. The upper keys use Darlington opto-isolators, so they draw much less current. Also, I designed my board to accept an AC adapter, as I did not want to risk putting a strain on the ARP's power supply. The AC adapter could be wired to the ARP's power switch and mounted inside the synth for a neater installation, or simply fed in through an unused jack. A PIC microcontroller is used to sense MIDI "note on" and "note off" messages. A DIP switch selects MIDI receive channel. No other MIDI commands are sensed. Here is a photo of my MIDI board:
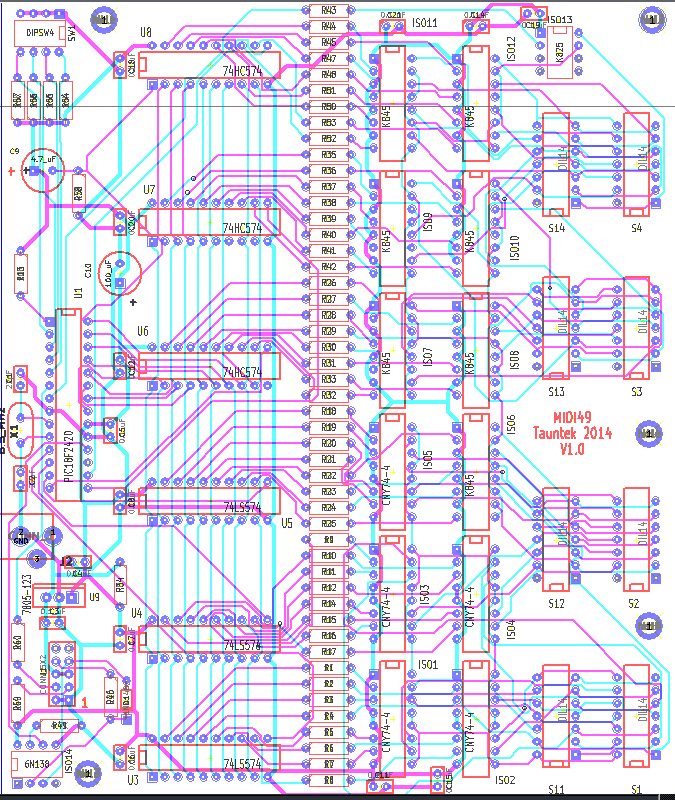
Here is a copy of the schematic, and here is a BOM/parts list showing the parts used and their cost. Here is a diagram showing the component placement. You can order pc boards from China using the Gerber files below, and also program the PIC chip using the hex file. I have used JLPCB for several projects with good results. Their prices are very reasonable. Another option would be PCBway, but I have not used them myself. I am no longer offering blank boards or programmed PIC chips for this project. You will need to buy all of the remaining items, and build up the board yourself. Note that the parts list calls for a mix of LS and HC chips to drive the opto-isolators. This is due to the different opto-isolators needed for the different OMNI key groups. Please obtain the parts that I listed, and do not substitute other parts because they are easier to get or less expensive. If you do this, the circuit won't be reliable. Do not attempt this build unless you have good soldering skills. To install the interface, you would unplug the keyboard ribbon cables from the synthesizer pcbs, and plug them into my board. Then add four new ribbon cables from my board to the OMNI-2 pcb's. These are DIP-to-DIP ribbon cables which you can buy pre-made at Digi-Key. You also need to connect ground from my board to the ground on the ARP pc bds. An additional ribbon cable connects between my board and the MIDI jack and an optional "MIDI data received" LED. There was an error on the original pcb. I left off a needed pull-up resistor on the output of the MIDI opto-isolator. The current pcb has this resistor (R61, 4.7K) but it's not shown on the schematic. The board has some mounting holes, and can fit easily inside an ARP OMNI or OMNI-2. It has only been tested on an OMNI-2, but should be fine in an OMNI as well. I really do not suggest trying to power my interface off of the ARP power supply. I have no way to know if it can handle the additional load, and cannot be responsible for any damage that may result. Please figure on powering the MIDI interface from its own supply. My board draws a maximum of 250 mA when pressing as many keys as possible with both hands, including bass keys, which draw more current. (Thanks Luca, for measuring this, since I sold my OMNI)
Here are the Gerber files needed to order a pc board from China. Here is the hex file for programming the PIC chip.
Please note: This interface should only be assembled and installed by someone with an adequate understanding of electronics. If it is assembled or installed incorrectly damage to the ARP OMNI circuitry could result. I will not be responsible for any damage to any instrument caused by either proper or improper use of the design presented here.